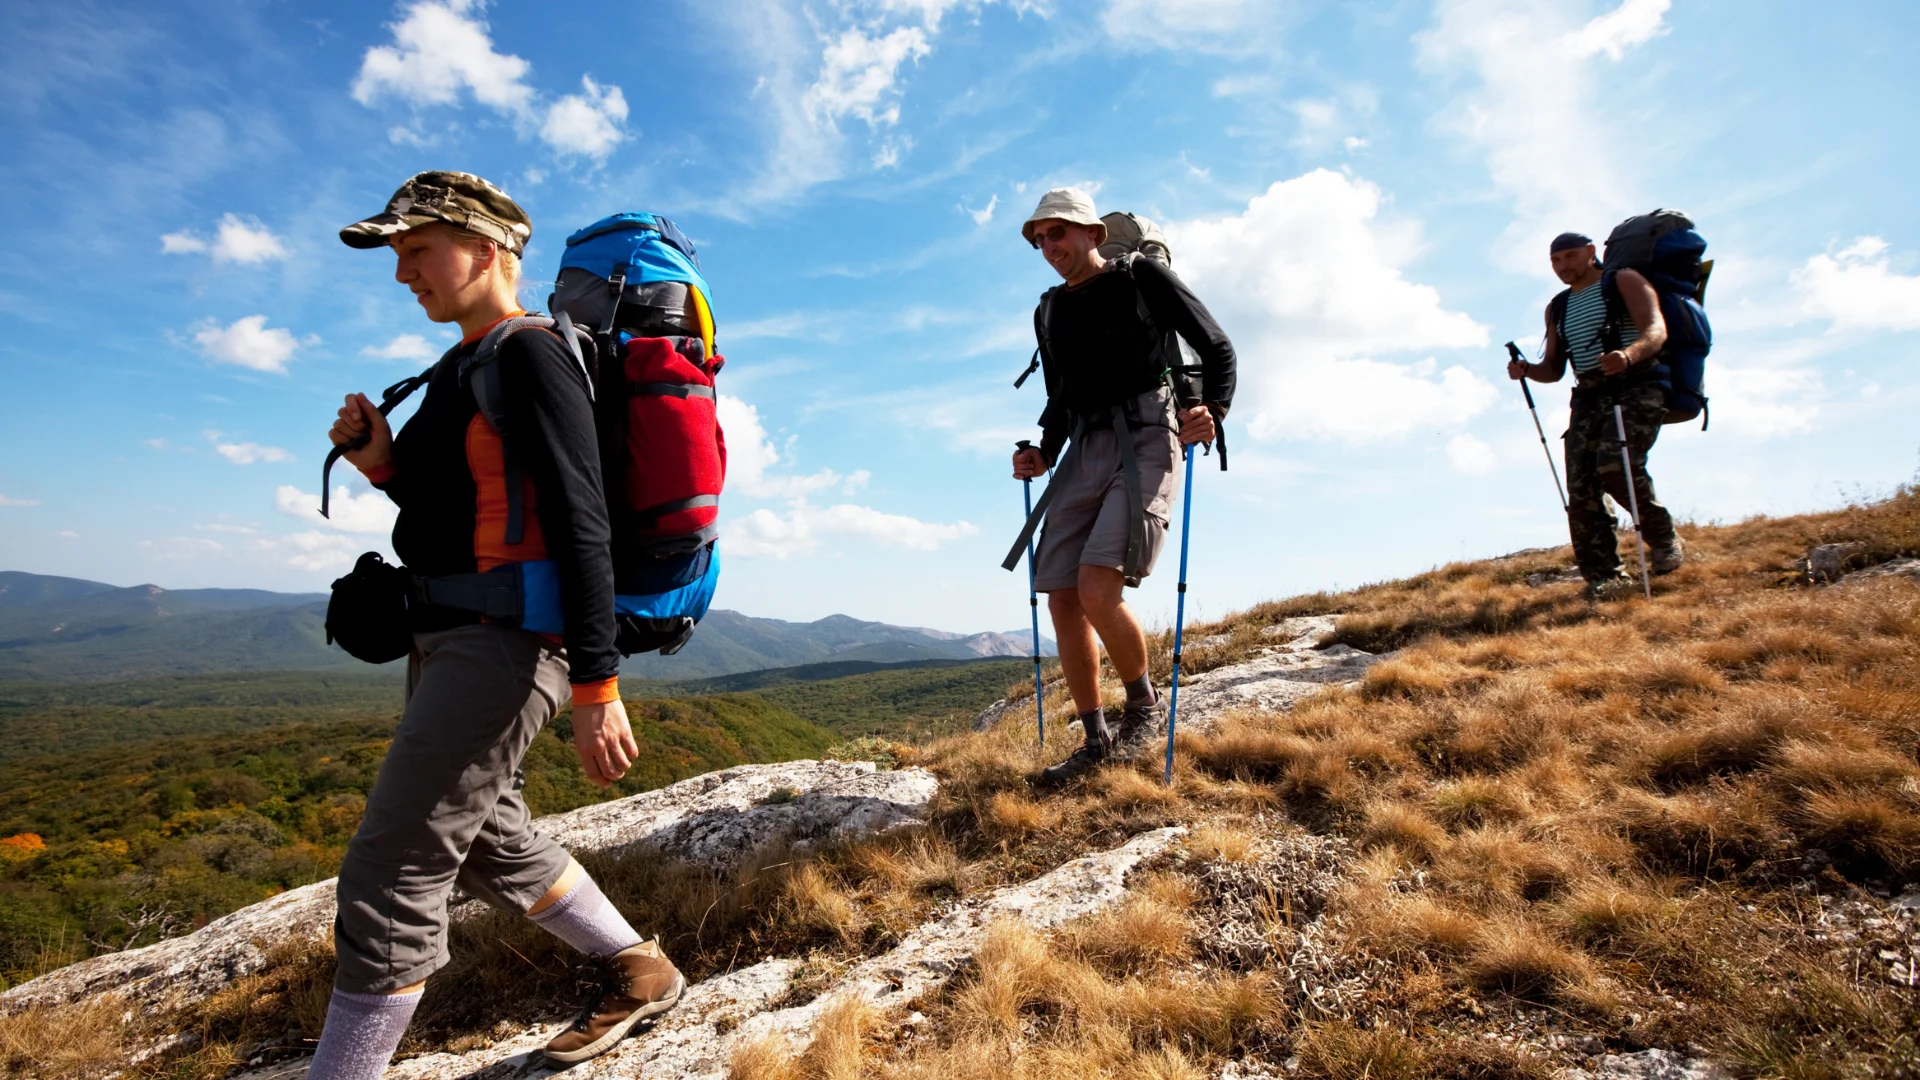
It is March in Edmonton, which means we are finally emerging from the deep freeze. As the snow begins to recede and the first signs of the spring thaw appear, Albertans are looking ahead to our favorite time of year: hiking season.
Whether your summer goals involve a brisk 10-kilometer loop through Edmonton’s glorious River Valley, or scrambling up the scree slopes of the Canadian Rockies in Jasper or Banff, your preparation needs to start long before you hit the trailhead. We often focus on packing enough water, bear spray, and trail mix, but we frequently neglect the single most important piece of equipment for any hike: our foundation.
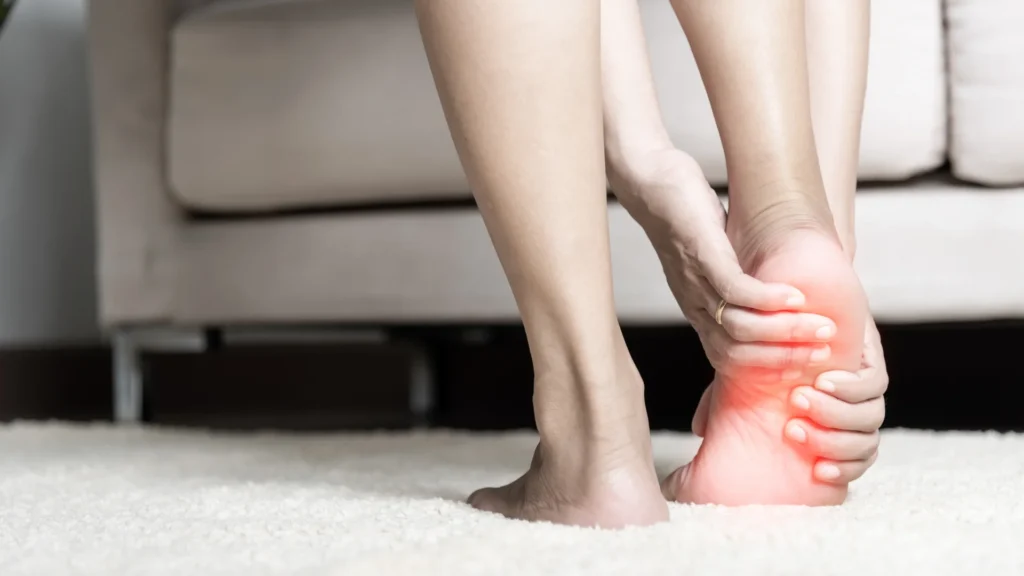
Hiking puts immense, repetitive stress on your feet, ankles, knees, and lower back. If your footwear isn’t up to the task, what should be a breathtaking day in nature can quickly devolve into an agonizing experience. At Custom Orthopedic & The Walk Shoppe, we see it every summer—hikers sidelined by avoidable injuries because their footwear failed them.
Here is your comprehensive, 10-step guide to preparing your feet and your footwear for the Alberta hiking season, with a special focus on why custom orthotics for hiking might be the missing piece of your gear setup.
1. Understand Your Terrain: City Trails vs. Mountain Peaks
Not all hikes are created equal, and neither are hiking shoes. The first step in footwear preparation is aligning your gear with your goals.
- The River Valley & Urban Trails: If you are sticking to packed dirt, paved paths, and mild elevation changes, a heavy, stiff backpacking boot is overkill. You will benefit more from a lightweight trail runner or a flexible hiking shoe. These offer sufficient traction without the unnecessary weight that causes premature fatigue.
- The Rockies (Banff, Jasper, Kananaskis): If you are heading into the mountains, the terrain changes dramatically. You will encounter jagged rocks, exposed roots, mud, and steep slopes. This environment demands a structured hiking boot with a rigid midsole to protect your foot, an aggressive outsole for traction, and adequate ankle support to prevent twists on uneven ground.
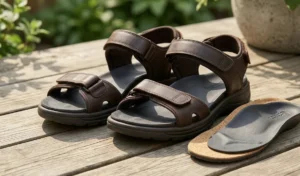
2. The Anatomy of a Supportive Hiking Boot
When shopping for hiking boots, do not be swayed purely by aesthetics. You need to look at how the boot is constructed to ensure it can actually support your body weight plus the weight of your pack. A truly supportive boot has three crucial elements:
- Torsional Rigidity: Take the boot in your hands, grabbing the heel and the toe. Try to wring it out like a wet towel. A good hiking boot should resist this twisting. If the shoe easily folds in half, it will not support your foot on uneven mountain terrain.
- A Firm Heel Counter: Press on the back of the heel cup. It should be stiff and unyielding. A firm heel counter locks your heel in place, preventing the slipping that leads to friction and blisters.
- A Rocker Sole: Because heavy-duty hiking boots are stiff, they need to help your foot transition from heel-strike to toe-off. A slight upward curve at the toe facilitates a smooth walking gait, boosting your walking economy and saving your energy for the final push to the summit.
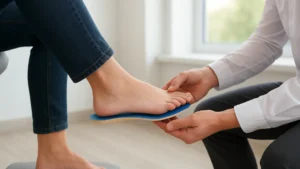
3. Ditch the Factory Insoles: The Power of Custom Orthotics for Hiking
Here is an industry secret: even the most expensive, high-end hiking boots come with flimsy, dollar-store-quality factory insoles. Boot manufacturers invest their money in the outsole and the upper materials, assuming that consumers who need real support will replace the insoles anyway.
When you add a 15-to-30-pound daypack to your back, your feet are forced to carry significantly more weight than they do in your daily life. This added weight causes your arches to flatten more than usual upon impact, leading to overpronation, arch strain, and severe fatigue.
This is exactly where custom orthotics for hiking come into play. These devices are designed to map the exact contours of your feet. By replacing the flat factory insole with a custom device, you distribute the heavy load evenly across your entire foot rather than concentrating it on your heels or the balls of your feet. They stabilize your heel inside the boot and keep your arch supported even when carrying a heavy load. If you are debating between drugstore inserts and professional support, understanding the difference between custom orthotics vs off-the-shelf insoles is your first step to a pain-free hike.
4. The “End of Day” Sizing Rule and Managing Swelling
A common mistake rookie hikers make is buying boots that fit perfectly in the morning. However, as you hike, gravity, friction, and increased blood flow cause your feet to swell. A boot that feels snug at 9:00 AM will feel incredibly restrictive by 3:00 PM.
Always shop for hiking boots late in the afternoon or evening when your feet are at their largest. Furthermore, you should have roughly a thumb’s width of space between your longest toe and the end of the boot to prevent your toes from smashing into the front during downhill descents. If you are prone to severe swelling, learning how to manage edema associated with flat feet can drastically improve your trail comfort.
5. Preventing the “Big Three” Trail Ailments
Hiking exposes your feet to unique, repetitive stressors. Be proactive about these three common hike-ruining conditions:
Plantar Fasciitis
That sharp, stabbing pain in the heel, especially during the first few steps of the morning out of your tent, is a classic sign of Plantar Fasciitis. Hiking steep inclines forces the foot into a flexed position, putting maximum strain on the plantar fascia band. Integrating custom orthotics for hiking into rigid boots is often the most effective prevention. Review our top footwear steps for Plantar Fasciitis relief before heading out.
Achilles Tendonitis
Going uphill for hours stretches the Achilles tendon to its absolute limit. If you feel a burning or aching at the back of your heel, you are flirting with Achilles tendonitis. A boot with an appropriate heel-to-toe drop and avoiding sudden jumps in your hiking mileage can prevent this. Read more on understanding Achilles tendonitis.
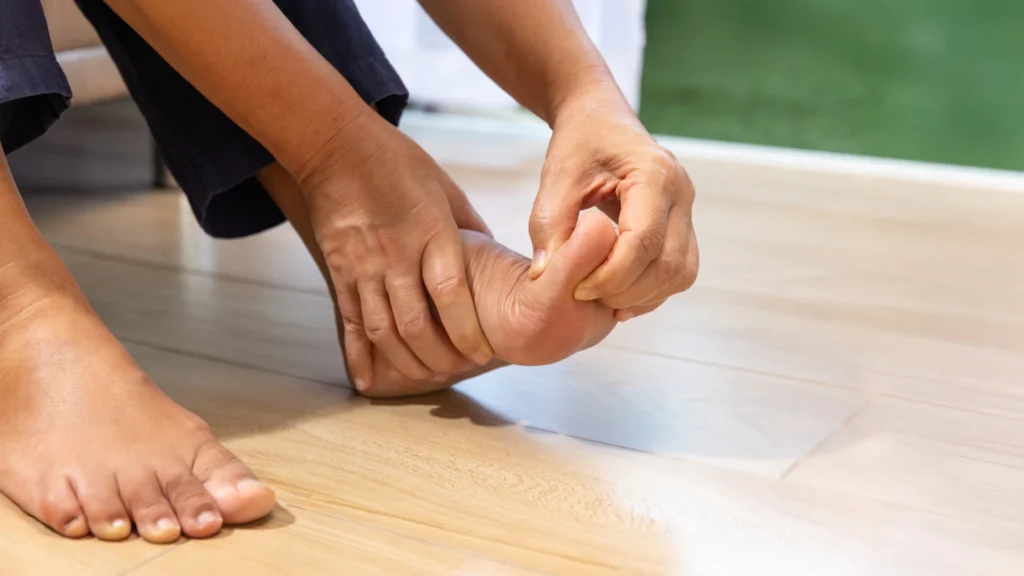
Blisters and Calluses
Blisters are caused by a combination of heat, moisture, and friction. Calluses are your body’s way of building armor against that friction over time. While a light callus is fine, thick ones can crack and bleed. Make sure your boots fit properly to eliminate heel slip, and follow our practical steps to combat callus formation.
6. Mastering the Descent: The Foot-Knee-Back Connection
Many hikers are surprised to find that going down the mountain is actually much more painful than going up. Why? Because descending involves eccentric muscle contractions and turns your body into a giant shock absorber.
Every time your foot hits the ground on a downhill slope, the impact force travels directly up your leg. If your feet overpronate (roll inward) due to a lack of arch support, your knees are forced to twist inward, which in turn pulls your hips out of alignment and tweaks your lower back. This is the kinetic chain in action.
If your knees are screaming on the way down Ha Ling Peak or Sulphur Mountain, your feet are likely the root cause. Proper alignment stops the chain reaction at the ground level. Discover more about the Foot-Knee-Back connection here and look out for the 5 signs your feet are messing up your knees, hips, or back.
7. Socks Matter Just as Much as Boots
You can buy the best $350 hiking boots on the market and fit them with premium custom orthotics for hiking, but if you wear cheap cotton socks, you will still suffer.
Cotton traps moisture against the skin. Wet skin is soft skin, and soft skin blisters incredibly fast. For Alberta hiking, Merino wool is the gold standard. Merino wool naturally wicks moisture away from the foot, regulates temperature (keeping you warm in the morning and cool in the afternoon), and has natural anti-microbial properties to fight odor. Invest in a proper pair of hiking socks to protect your skin barrier.
8. Lacing Techniques for a Custom Fit
Sometimes the boot is the right size, but the fit still feels off. Modifying your lacing technique can solve a myriad of problems and help secure your foot properly over your orthotics:
- The Heel Lock (Runner’s Loop): If you experience heel slipping on ascents, use the top extra eyelets on your boots to create a loop, cross the laces through the loops, and pull tight. This cinches the collar of the boot tightly around your ankle, locking your heel down.
- Window Lacing: If you have a high instep and experience pressure or numbness on the top of your foot, unlace the boot at the pressure point, run the lace vertically up the side to the next eyelet (creating a “window” over the sensitive area), and then resume crisscrossing.
9. Break Them In (Don’t Be a Trail Rookie)
Never take a brand-new pair of boots straight out of the box and onto a 15-kilometer trail in Kananaskis. You are practically guaranteeing a miserable day.
Hiking boots, especially full-grain leather ones, need time to soften and mold to the shape of your foot. Furthermore, if you are using new custom orthotics for hiking, your foot muscles need time to adjust to the corrected alignment. Start by wearing your new setup around the house for an hour a day. Then, transition to running errands or walking the dog. Next, take them on a paved path in the River Valley. Only once they feel like an extension of your foot should you tackle the backcountry.
10. Pre-Season Assessment: When to Retire Old Boots and Orthotics
As you dig your gear out of the closet this spring, give your boots a thorough inspection. Nothing lasts forever, not even high-quality outdoor footwear.
Check the midsole: if you see deep, permanent compression lines in the foam, the shock absorption is gone. Check the outsole: if the treads are worn smooth, you are a slip-and-fall hazard on wet rocks. Finally, check your insoles. If your custom orthotics for hiking are more than a couple of years old, or if your weight or activity level has changed significantly, they may need to be refurbished or replaced. Curious about the process? Learn what happens during a custom orthotics fitting.
Custom Orthotics for Hiking – Start Your Season on the Right Foot
The Canadian Rockies offer some of the most spectacular trails in the world, and Edmonton’s River Valley is an urban gem just waiting to be explored. Don’t let foot pain keep you on the couch this summer. Proper preparation, the right footwear, and the biomechanical alignment provided by custom orthotics for hiking are the keys to a season filled with peak bagging and beautiful, pain-free views. Ensure your feet are fully equipped to handle whatever elevation you tackle next!